

A Few Small Projects
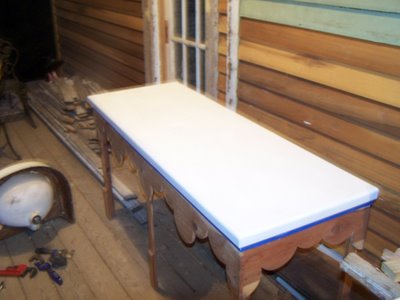
Here are a few pictures of some of the side projects. First, we have the vanity for the master bathroom sinks. I filled the nail holes with wood putty and sanded it down. My wife then put two coats of primer over it. The next step will be me drawing a bunch of sunflowers on it and marking the cut-outs for the drains and faucets. Then we'll paint the sun flowers, seal it with four or five coats of polyurethane, and mount the sinks. Since we still don't have a finished bathroom to put it in, it is on the back burner for now.
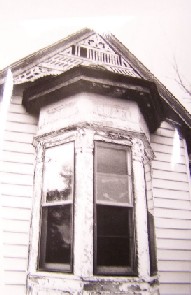
 This weekend we pulled the two old faucets and the remenants of the drain trap off the mudroom sink to take them to Lowe's for spare/replacement parts. The trap looks like it was installed in the 1970's and it is completely rusted out. The faucets are original and in working order but probably need new gaskets. They also have odd sized threaded nipples so we'll need special water feeds or adaptors. And, here is a picture of the hair line crack near the drain. We don't know how deep it is, but we're going to patch it with JB Weld just to be safe.
 This weekend we pulled the two old faucets and the remenants of the drain trap off the mudroom sink to take them to Lowe's for spare/replacement parts. The trap looks like it was installed in the 1970's and it is completely rusted out. The faucets are original and in working order but probably need new gaskets. They also have odd sized threaded nipples so we'll need special water feeds or adaptors. And, here is a picture of the hair line crack near the drain. We don't know how deep it is, but we're going to patch it with JB Weld just to be safe.
 And here is the master bedroom ceiling after I finished caulking it. It went a lot faster than the kitchen ceiling. About a third of the ceiling boards in the kitchen fell after the move et cetera. It took a lot of work and caulk to make it look right. The kitchen ceiling needed a case of caulk (24 tubes) while the master bedroom only needed 8 tubes.
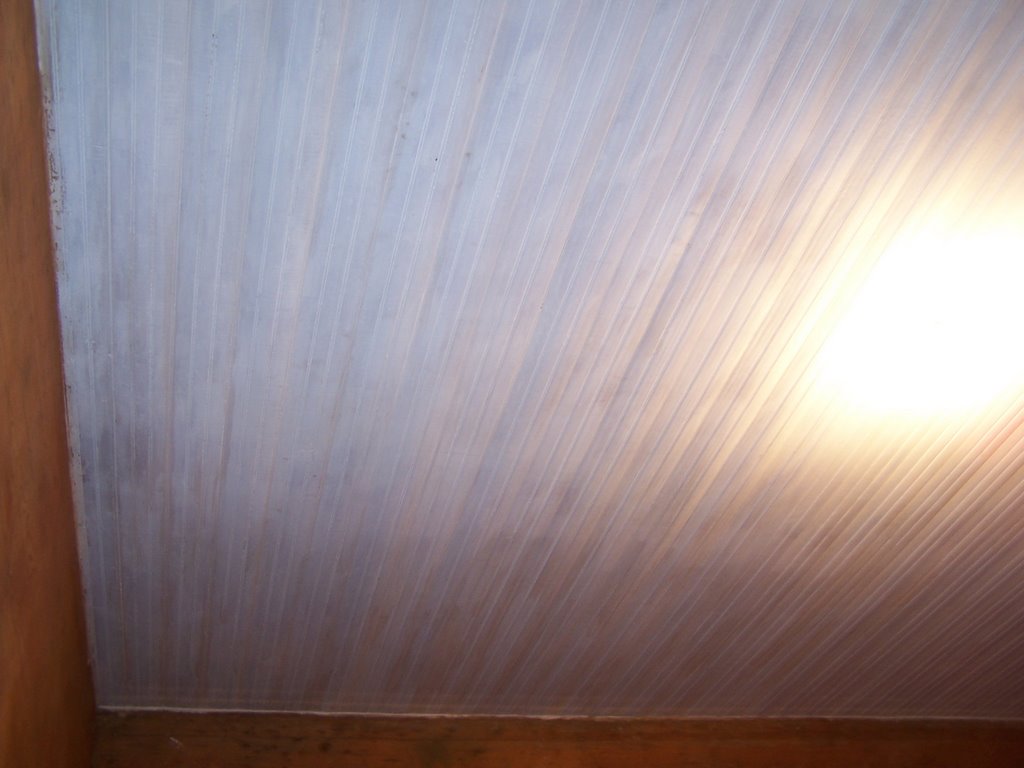
posted by John | 3:55 AM
![]()
![]()
3 Comments:
You guys are really cooking along. You'll be moved in before you know it.
Ignorant question: what is the caulk for? Plugging up holes in the beadboard or sealing all the joints? The Victorian we'd like to buy had what looked like packing tape over some of the beadboard on the second floor ceiling, and I'm kind of curious if that was lazy man's caulk!
Lenise, not a bad question at all.
Once upon a time when the Devil Queen was new, all the tongue-in-groove ceiling boards fit snuggly together. No caulk was needed since they were new, perfect boards.
Since that day 116 years ago, the house has settled, been cut in half, rained on without a roof, and moved. The ceiling boards did not fair well. Some sagged, some migrated, and a few simply feel to the floor.
All of this can be fixed, but they are never quite the same afterward. First, we repaired the ceiling. Second, we scraped all the old paint off. Third we preped and primed it. Once that was finished, you could plainly see the gaps, nail holes, and crack in and in-between the boards (somewhere a couple of weeks ago there are some pictures of the precaulked ceiling).
To make the ceiling look smooth and nearly seamless, we used a white, paintable silicone based caulk. We use our fingers and a lot of wet rags to smooth/remove the excess off. Then it is ready to paint.
I hope that answers your question. If you want more inforamtion, let me know.
Post a Comment
<< Home