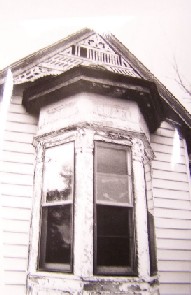
Originally, all the Devil Queen's interior walls were covered in wallpaper glued to canvas tacked to the tongue-in-groove wall boards. After 100+ years of neglect, the wallpaper and canvas were in very sad shade, so we tore it all out.
The problem with this is that the tongue-in-groove walls were never intended to be finished walls. This means there are all sorts of fugly gaps were boards, corners, et cetera come together. Who cares about a snaggle-toothed 3/4" gap if it's going to be covered with wallpaper?
Well, now that the wallpaper is gone, I do.
Here is the big old nasty crack in the main hall.

Here's my freakish old-man looking hand for perspective. Look at that thing. If we hadn't filled the bugger with spray-foam you could nearly slip your whole hand into this gateway to the poisonous spider, fat wall-mice underworld. Yuck.
 Here is the trim in place. It's a thin, 3/4" piece of cove trim from Lowes. I used 1 1/8" (I think) brads to nail it in place.
 Here is a close-up shot. The wall boards are not level (vertically or horizontally), so there is still some visible crack. I will caulk the hell out of this and paint the trim blue to match the wall.
 What is so sad about this who project is just how lazy I am. It took me all of 15 minutes to get this trim up and in place. This was mainly because I'd cut the trim to fit last year. If you're looking for way to make a 20-30 minute project last 4-6 months, I am your man.
Fuck me, I don't know which is worse, working on the house or making myself work on the house.
Labels: fugly, hall, trim
 Here's my freakish old-man looking hand for perspective. Look at that thing. If we hadn't filled the bugger with spray-foam you could nearly slip your whole hand into this gateway to the poisonous spider, fat wall-mice underworld. Yuck.


2 Comments:
"...this gateway to the poisonous spider, fat wall-mice underworld..." LMAO!! (But don't let I Love Upstate read that sentence--it'll give her nightmares!)
No thanks, I've already got a husband who has this down to an art too.
I do like your plank walls though. We are going to finish our stairwell walls the same way. Minus the large cracks in the corner I hope.
Post a Comment
<< Home