Getting By
Next work week will be very busy too. May not get too much done or too much posted. Bear with me. If nothing else, I can get some pictures of up (I hope).
How my wife and I sold our souls to the Queen Anne Victorian we tried to save.

 Sorry for all the pictures of me. I know you just can't enough pictures of that goofy, Kraut-looking sonofabitch, but it seems a little excessive even to me. After I got the damn rot out, I sanded the cutline and used the sand paper & chisel to clean all the filth, gunk, and splinters of wood out of the neighboring boards' tongue and groove.


 Now that the board was out, the new challenge was finding something to patch the hole with. First, I found a scrap of 2x4 and nailed it to the floor joist shown above. This gave me something to nail the new board into. As you might remember from some recent posts, we're starting to run out of wood. Kenny used the few floor boards we'd saved to patch the dinning room and living room floors. The only thing that I found was a scrap of wall board.
Wall board might seem like and odd choice, but it actually fits well. Aside from the framing, most of the Devil Queen is finished with 3/4 thick, five inch wide, tongue-in-groove boards. Floor boards were sanded smooth on their tops, the bead board was finished out with beads, and the wall boards were left semi rough. Also, the color of the wood is identical too.
The photo below is me cleaning my scrap board off. Unfortunately, it was full of wallpaper tacs and a few drywall nails. The nail holes are small and can be patched with wood putty. I'm hoping the blackish stains around some of the holes will sand out. If not, it's not too bad. They shouldn't be too noticable.
 My wife caught me with the "genius look." I do my best thinking when my mind flat-lines. We use to have a fat Persian cat that always had an expression like that, it was one of the dumbest things I've ever seen on four legs. And, he was terribly neurotic. For example, he was terrified of his own poo.
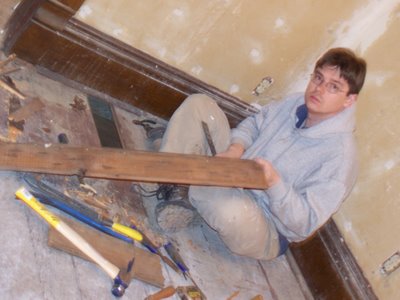 I measured the board, marked off the section I wanted, and I clamped it down to Kenny's work bench with the C-clamps. I cut along the line with the handsaw and sanded the cut smooth.
The trick was getting the new board into the hole. First, I cut off the bottom part of the groove. I tried wiggling the board in, but, since it had to slide under the baseboard and wallboards to fit, it wouldn't go. I could have used another 2x4 as a nailing block on that end, but I thought I would get a better fit if I could slide it all the way under the wall & baseboard. So, I cut off about 4 to 5 inches of the tongue on that end of the board. It worked better, but not enough to slide in. Then, I shaved the next 4 inches of the tongue down so it tapered as it got closer to the cut off portion of tongue. This worked. With help of the rubber mallet, I manage lock it into place.
Here you can see the patch as I face nail it into the nailing bock.

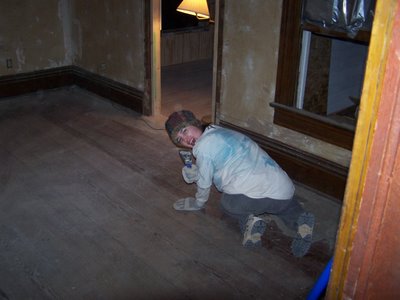
 [A couple of pictures of Ms. Scarlet scraping the hell out of the floor. In case you're wondering about that hat, it was really cold that night.]
[It's a little hard to see, but this is the patch after I'd pulled up one corner of it. I was only minutes away from finding the Black Hole of Calcutta.]
A few months back I was pondering a similar patch in the living room (to read the original post and comments, click here). According to Gary, the “patch” was used to level out a depression in the floor so they could lay rolled linoleum. I pulled up the living room patch, and everything beneath it was intact. So, the moron that I am, I assumed that the patch in the master bedroom was the same. Nope. It covered a big hole and about 18 inches of dry rot. YES! It was my lucky day. Since my wife was there and we had the camera, we have a lot of before, during, and after photos of the repair. I’ll post those separately later this week.
[Another not so great photo. The two stubs of floor board between the vent (taped shut to keep dust out) and the base board, are hanging down about an inch.]
Oh, but it gets better. We also found a one inch diameter hole we believe was for a natural gas line (we’re thinking it was for a space heater). Not too bad of a problem, but a pain none the less. And, then there is the two sagging floor boards the heating/air guys left us. It probably isn’t all their fault since they used the existing air vent cutouts. However, they had to enlarge the holes by and inch or two to make the new air vents fit (they are slightly larger than the old ones). They had to notice that these two boards were sagging down into the crawlspaces, but, of course, they didn't mention it. The only thing holding them in place was the baseboard. Why didn’t we notice it earlier? We had too much shit piled in this room to get a good look at it.
After 10 PM, we called it quits. There was too much to repair, and we were getting tired. We decided that a good night’s sleep would do us some good, and then we’d give it another go Sunday.
Sunday was a big day, but I’ll post more on it later.
As a final note on RSC rentals, I'm pretty pleased with them - the branch in Little Rock that is. The equipement was in good working order, they only charge you for one day if you rent over the weekend, and they'll buy back the sanding paper you didn't use. The branch in Russellville can suck big hairy moose butt crack for all I care. I wouldn't recommend them to anyone. They're a national chain, so if you need a drum sander, check them out. Maybe you'll get lucky.
 My personal favorite, the creek.
 A couple of pictures of the Queen as seen from the creek.
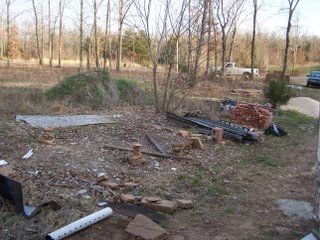 This was our last giant wood pile. It streched from the pile of bricks to the pipe in the forground. All of it has been consumed by the Queen.
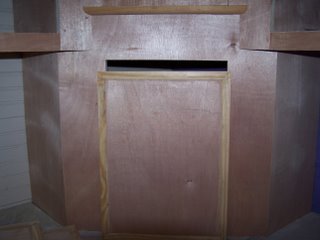 The "bread box" cabinet with its door propped in front of it.
 The walls of the laundry/mudroom/bath have been sheetrocked.
 The kitchen stove in its proper place.
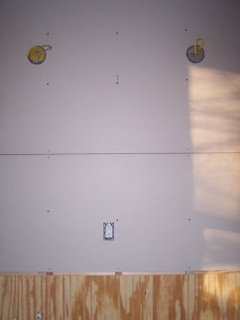 Sheet rock, over sink light mounts, and "bead board" in the master bathroom.
 The sander is exceptionally cool. It is a three-in-one (or is it four-in-one?) sander. It has a basic sander (kind of like a palm sander, a vibrating pad), a random orbit sanding attachment, and a small “rabbit” attachment for getting into tight corners. I haven’t tried it out yet, but it looks promising. If we get up off our lazy asses this weekend, we might have a chance to try it out.
 A gratuitous moon shot.
 And, our master bedroom ceiling. If you've never scrapped paint off a ceiling, you don't know how much fun you're missing. Feel free to come over and try it some time.
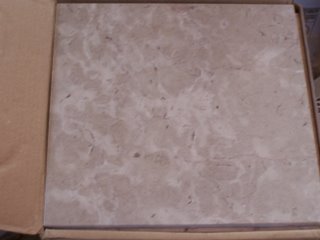
 The white tile looks way too bright in this photo. It looks a lot better in person. It'll match all the white trim & base boards when everything is finished.
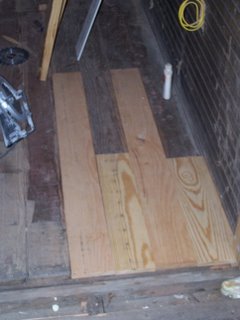
 Kenny has been working on the threshold between the dining room and living room. Originally there was a wall here. The previous owners tore the wall out, did a piss poor job of patching the hole, and then laid carpet over it. Kenny tore out their work and is replacing it with something nicer.
 Nine months after we started this project, we finally have an arched doorway between the kitchen and dining room. The door was bought from an antique store. Unfortunately, it only had trim on one side.
 Here is the new trim for the kitchen side of the arch laying on the counter top.
This is a close-up of the kitchen side of the arch. I know this doesn't look like much, but I'm really proud of how this turned out. I roughed-in the door openning, and it is a nice tight fit. It's proof that I can actually use a tape measure (the whole master bathroom window fiasco called my skills into question).
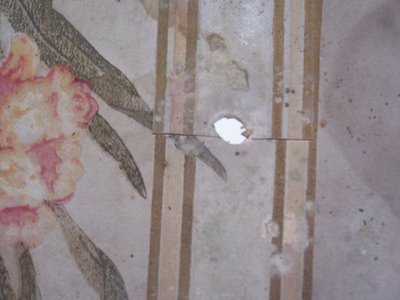


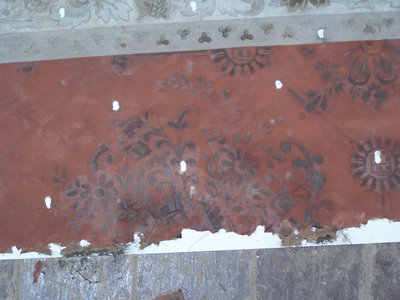 And here's what we found under the wallpaper. I know you all wish you had some of this stuff. I just can't wait to scrub this down with TSP or bleach.
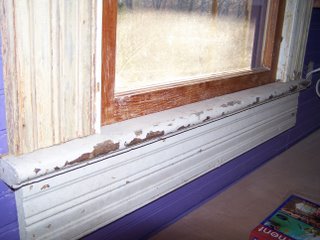
 The window.
 And, here is a close-up of the bull's-eye corner trim I repaired. I wish I'd taken a before picture so you could appreciate my mastery of wood-putty. The top 1 inch or so was broken off when we removed the trim a couple years ago. No matter how careful you are, getting trim off in one piece is hard to do. This piece of trim is about 6" square, but they used 6 freaking enormous nails to set it. Overkill?
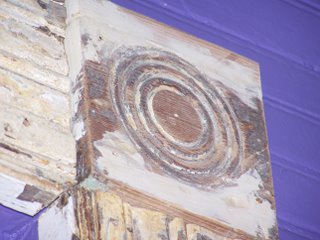 I scavenged up a piece of old wood and cut it down to size with the table saw. Once I was satisfied with the fit, I drilled out some starter holes for the nails. I nailed them together with some tiny framing nails, and filled the crack with wood putty. I gave it a good sanding, but didn't get around to a second coat (note the visible crack on the left side of the patch) before Kenny put it up. No harm done, I can finish it as it is. Then, caulk and paint.
I was up at the Queen last night to check on things. The kitchen is moving along at a good pace. Kenny has cut out the hole for the kitchen sink, laid the concrete backer board for the tile, and built-in a few more cabinets. More photos in a few days.
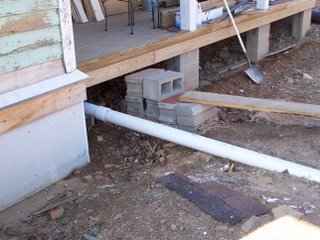
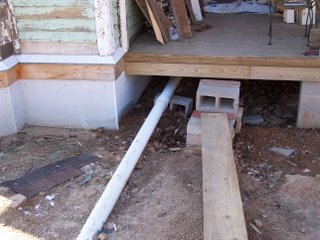 And, here are some in-progress photos after an afternoon spent rolling rocks around.
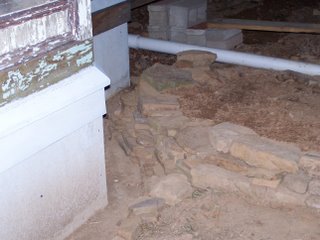

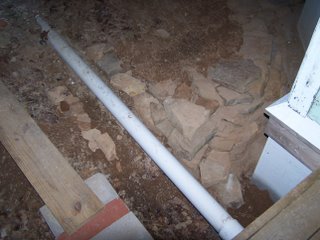 When I’m feeling wildly optimistic, I think I’m about a quarter of the way done with this little bit of landscaping. The rest of the time I am wondering how it's going to get this finished. The truth is somewhere in between.
There are two potential problems this “solution” creates in and of itself.
One, it leaves a small, narrow gully running between the house and the rock retaining wall. This means I’m going to have to make sure that there is sufficient drainage to keep water from collecting here. I’m also going to have to clean out dead leaves and other woodland debris to keep this from becoming a snake den too. There isn’t anything more exciting than a tangled mass of peeved copperheads outside your front door, but I’m just not into that kind of excitement.
Two, it raises the ground up awfully close to level with the porch. Instead of front steps we may have a front step. My wife has an interesting idea to solve this problem, but we haven’t fleshed it out yet.